
Print to PDF is a new feature in Windows 10 that allows you to print anything on your computer as a PDF file. This is a feature that many users requested, but unfortunately, many users are reporting that this feature isn’t working for them on Windows 10.
Here are some more examples of this problem:
- Microsoft Print to PDF not working Windows 7 – Although we’re talking about Windows 10 here, you can easily apply most of these solutions to Windows 10.
- Adobe Print to PDF not working Windows 10 – Adobe Print to PDF is also a popular tool for saving webpages, and since it works on a similar principle, you can apply the solutions from this article to it as well.
- Microsoft Print to PDF corrupted – This is one of the error messages you might encounter on the way.
- Print to PDF not saving – Another common error message.
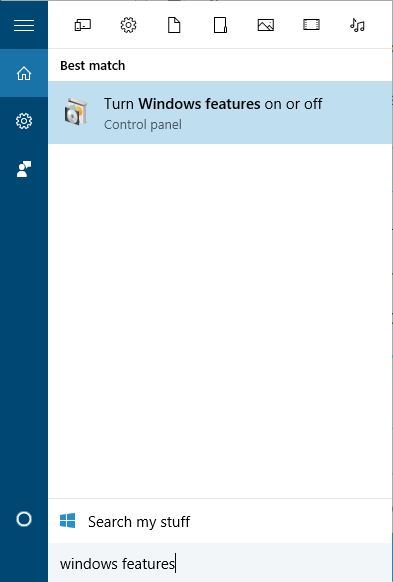
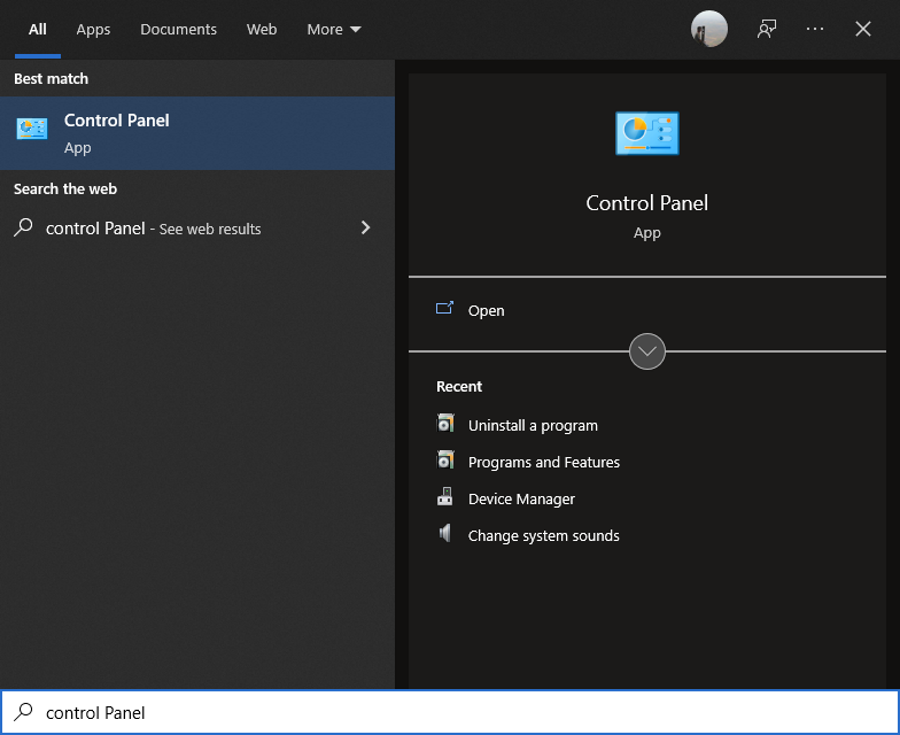
How do I enable the print as a PDF option?
You are able to activate the print as a PDF feature directly from your Windows 10 settings. Thus, you can use the Control Panel and find the Turn Windows features on/off.
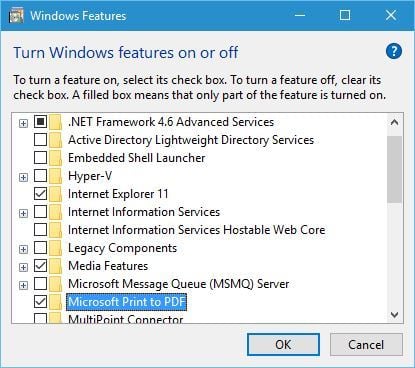
Afterward, you have the Windows Feature window that contains the Microsoft print to PDF option, so be sure to check it. This option can be used specifically on Windows 10 to enable this printing option.
If you need to use the print as PDF option in Windows 7, be aware that it doesn’t include this feature in this Windows OS version. Hence, you can use dedicated PDF software to add it as a PDF printer.
It’s possible to make use of this printing option in Windows 11 using the same method. You only have to search the Control Panel > Programs > Turn Windows feature on or off. Tick the box if it isn’t already and try to print any documents or files.
How do I fix Print to PDF feature on Windows 10?
1. Check the Users folder
Some users reported that they don’t see the dialog that lets them save a PDF file to a specific directory. This problem is mostly related to Microsoft Edge since Edge sometimes saves the PDF documents to the default directory automatically.
If you don’t see the save dialog while using Microsoft Edge, make sure to check C:Users%username% folder for saved PDF files.
Some users reported that Edge stores saved PDF file in the UserDocuments folder automatically, so make sure that you check it as well.
2. Change the output directory
There are reports that the Print to PDF feature isn’t working correctly if you save your PDF files to the Documents folder.
Users reported empty PDF files when saving them to the Documents folder, but you can easily fix that by choosing a different output directory for your PDF files.
3. Update the printer driver
If replacing the printer driver didn’t solve the problem, you might as well try to update the current one. In case you don’t know how to do that, just follow these instructions:
- Go to Search, type device manager, and open Device Manager.
- Expand Print queues.
- Right-click Microsoft Print to PDF, and go to Update driver.
- Follow further on-screen instructions.
- Restart your computer.
Update drivers automatically
If you don’t want the hassle of updating drivers manually, we strongly suggest doing it automatically by using a professional driver updater tool.
The program will start scanning your PC for outdated or damaged drivers and match your hardware with the best driver version available.
4. Disable Print to PDF feature and enable it again
A number of users claim that you can fix problems with Print to PDF feature simply by disabling and enabling the feature. To do that, follow these steps:
- Press Windows Key + S and enter windows features. Select Turn Windows features on or off from the menu.
- When Windows Features window opens, locate Microsoft Print to PDF and disable it. Click OK to save changes.
- Restart your PC.
- When your PC restarts, repeat the same steps and enable Microsoft Print to PDF again.
- Click OK to save changes.
After enabling the feature again, Print to PDF should be working again without any issues.
We also have a complete guide that might help if your PDF files are not printing properly.
5. Set Print to PDF as default printer
Users claim that setting Print to PDF as a default printer fixes the problems with this feature, therefore you might want to try that. To set Print to PDF as a default printer, you need to do the following:
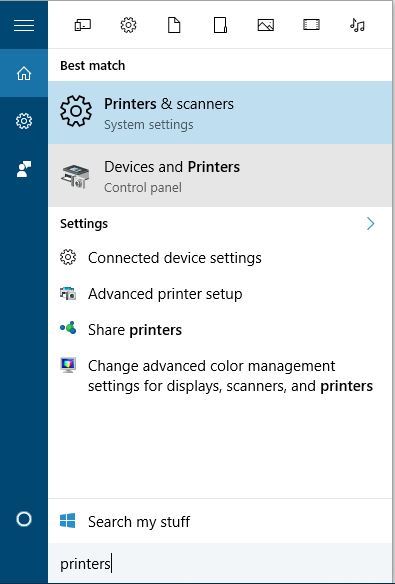
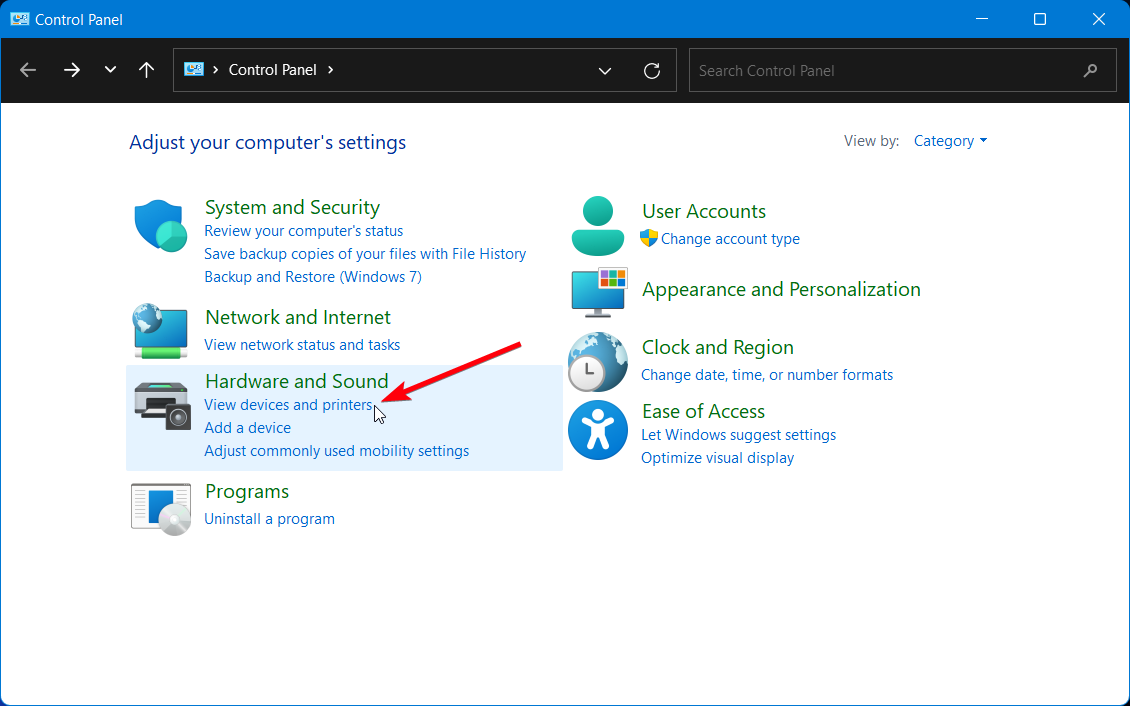
- Press Windows Key + S and enter printers. Select Devices and Printers from the list of results.
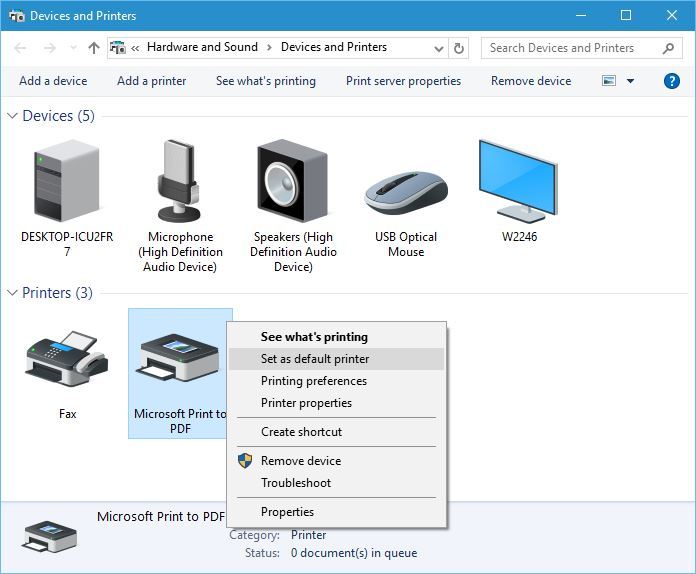
- When Devices and Printers window opens, navigate to the Printers section.
- Locate Print to PDF, right-click it and choose Set as default printer from the menu. After doing that, you should see a green check mark next to Print to PDF meaning that it’s set as a default printer.
6. Make sure that the file name or destination folder doesn’t contain any commas
A number of users reported that having commas in your file name or destination directory for PDF files will create a PDF file with the size of 0 bytes.
To avoid this issue, make sure that the name of the PDF file and the name of the destination directory doesn’t contain a comma.
It has been confirmed by users that a comma causes this issue, but just to be safe, maybe you should avoid using special characters completely until Microsoft fixes this issue.
7. Remove the Microsoft Print to PDF and replace its driver
Few users claim that removing the printer and installing it again fixes the issue, so you might want to try that. To do that, follow these steps:
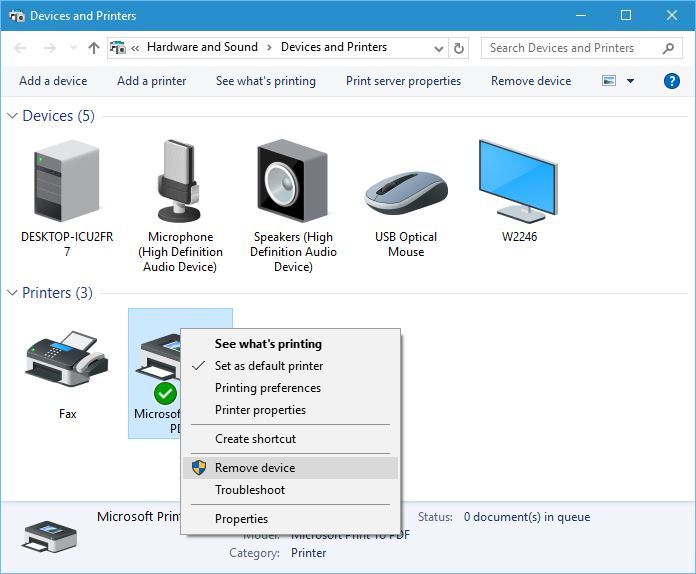
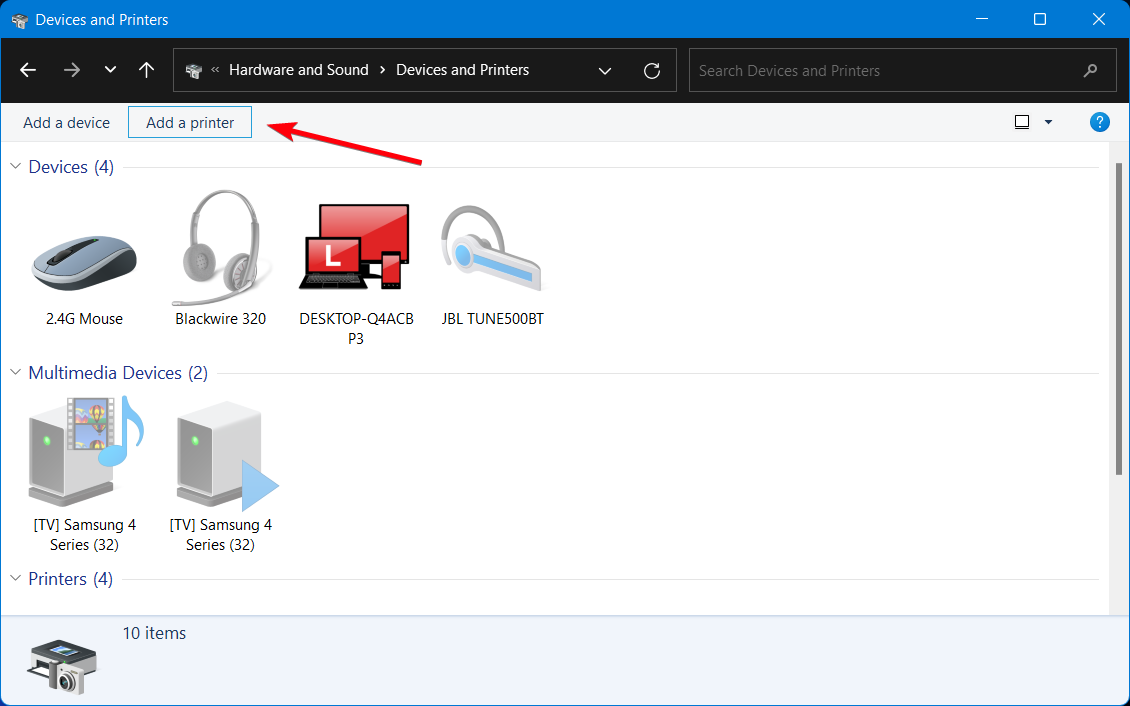
- Go to Devices and Printers section.
- Locate Microsoft Print to PDF, right-click it and choose Remove Device.
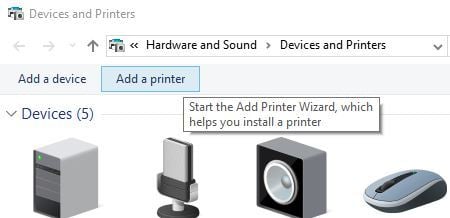
- After you’ve removed Microsoft Print to PDF, click the Add a printer button.
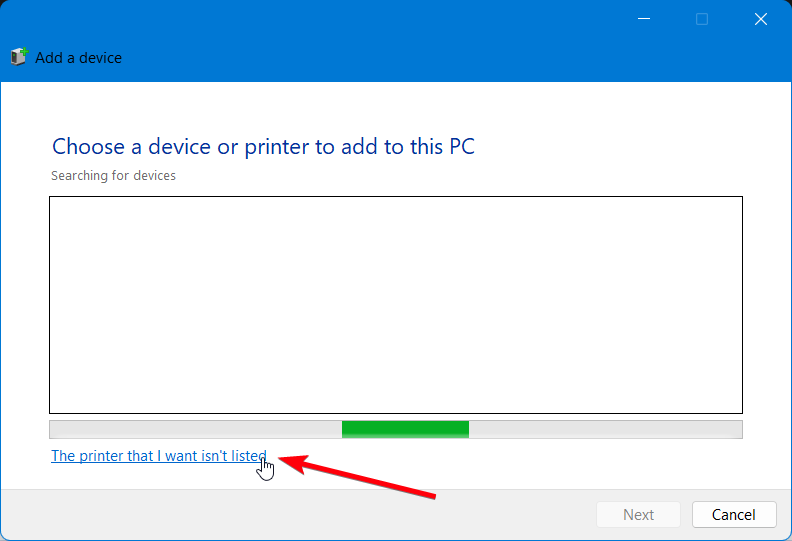
- Click The printer that I want isn’t listed.
- Select Add a local printer or network printer with manual settings and click Next.
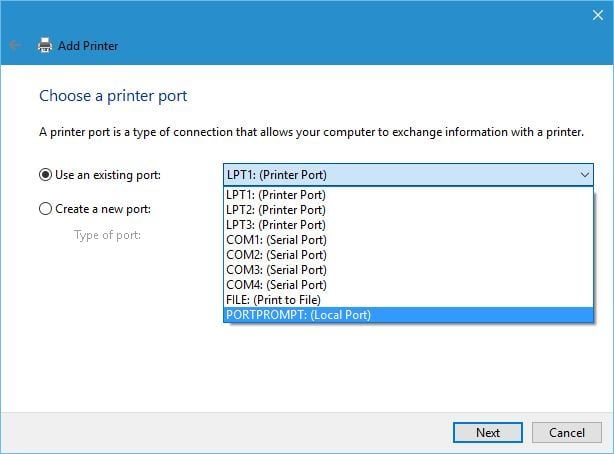
- Select PORTPROMPT: (Local Port) from the menu and click Next.
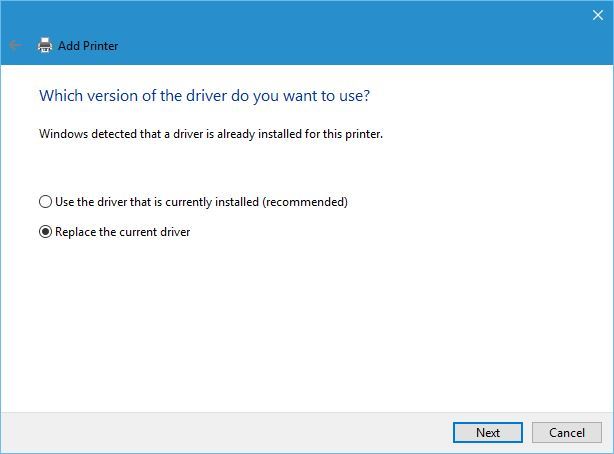
- Select Microsoft and Microsoft Print to PDF.

- Select Replace the current driver option and click Next.
- Add a name for the printer and wait for Windows to install it.
If you want to know how to remove a corrupted printer driver, take a look at this article and find out more about it.
After reinstalling Microsoft Print to PDF, you should be able to print to PDF without any issues on Windows 10.
Print to PDF is a welcome addition to Windows 10, but as you can see, few issues with it can emerge. We hope that some of our solutions were helpful to you and that you’ve managed to fix problems with Print to PDF.
How to resolve the Print to PDF feature on Windows 7
1. Manually add a PDF printer
- Open the Start Menu.
- Type Control Panel and press Enter.
- Below Hardware and Sound, click on View devices and printers.
- Select the Add a printer option.
- Go for The printer that I want isn’t listed option.
- Choose the first option and click Next.

- Select the printer once the search is complete.

2. Use a dedicated PDF software
Given the fact that Windows 7 doesn’t include a Print to PDF option, you should know that it’s impossible to perform a print directly from your file location.
For this case, it’s possible to employ a specialized PDF viewer tool in order to add a new Print to PDF option on your computer.
Hence, the most suitable software for this task would be Adobe Acrobat Reader due to its printing and editing options, plus support to add a new printer device.
Windows dedicated systems are prone to system errors that stop them from running optimally.
Are you having trouble with Windows errors? You can check out the exclusive Windows 10 errors hub.
If you have any other questions or suggestions, don’t hesitate to leave them in the comments section below and we’ll be sure to check them out.